It took me awhile to finally make the decision to pick up LEGO R2-D2 #75308. It comes with a hefty price tag of $239.99, but when I heard that it was estimated to retire mid to late 2023 I knew I couldn’t wait any longer. I fell in love with R2 in the original trilogy. I became a dedicated fan when the prequel trilogy was released, but he forever stole my heart through The Clone Wars Series. He has spunk, tenacity, and humor. I had great hopes that this set would give him the credit he deserves, and I was not disappointed.
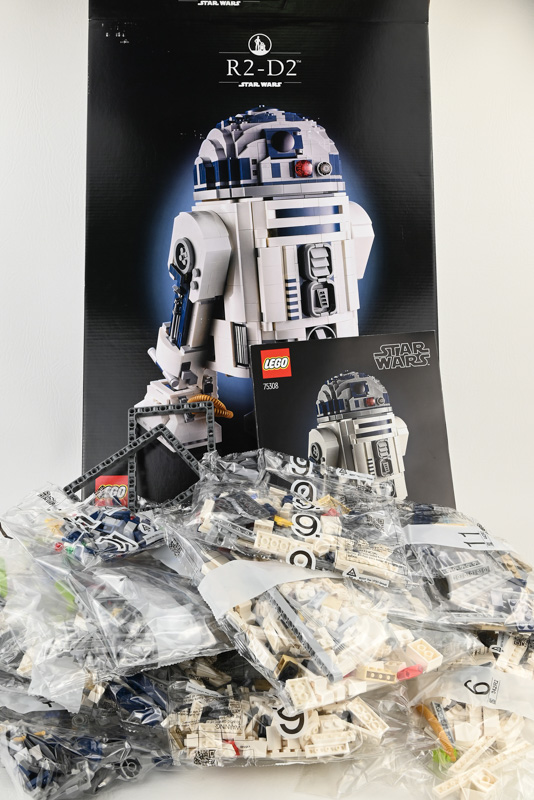
R2-D2 has a whopping 2314 pieces and is rated for 18+. It comes with 13 bags, an instruction book and a sticker sheet.
Here is where it gets real. I struggle with the Technic™ style of sets. I always seem to put pieces in the wrong place and get frustrated. I should have known this set would require an extensive frame of this style of building, but I didn’t think about it and my heart dropped on Step 1. There was no way I was giving up, so I dove in determined to figure it out. You can guess what happened when a problem developed and I could not figure out what I did wrong. Thankfully my hero was home from college and he was able to quickly fix my problem. He also tried to teach me how to improve my skill with pins and liftarms, let’s hope something stuck.
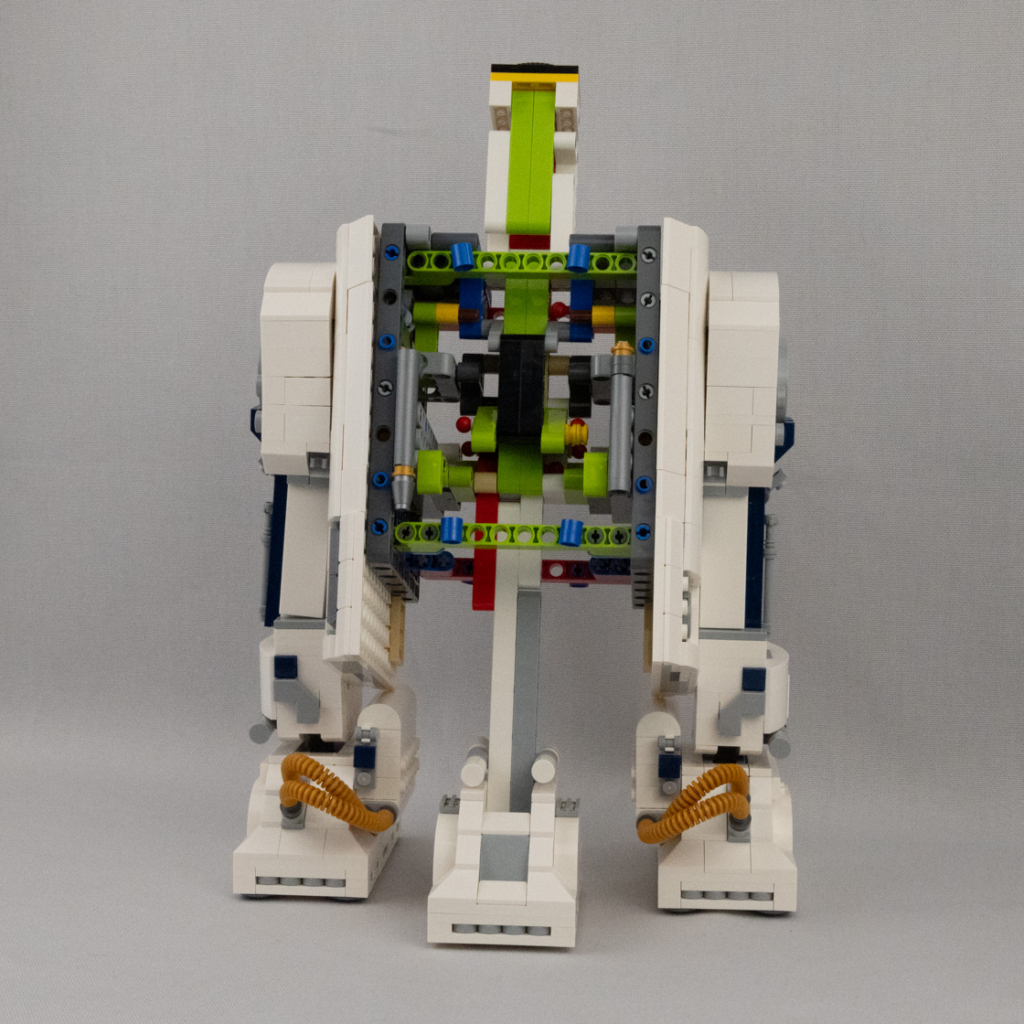
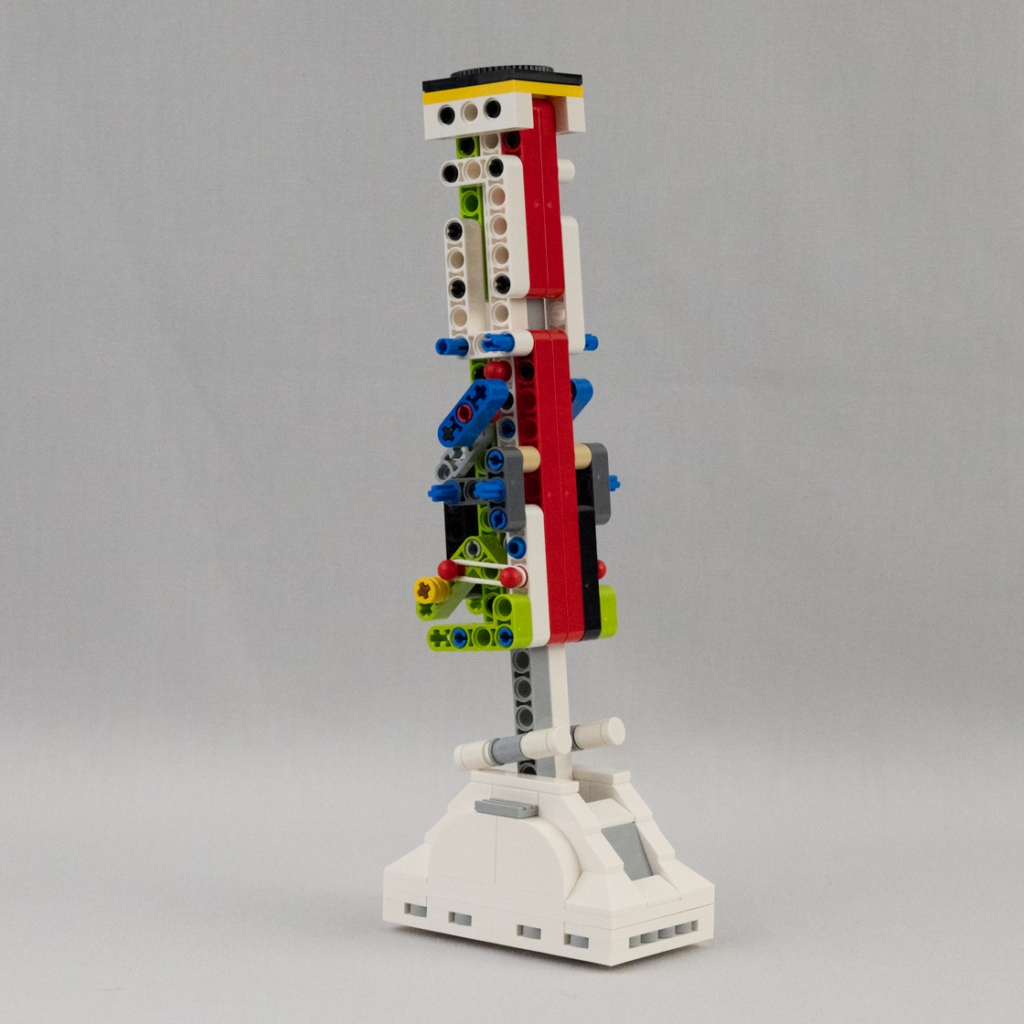
Layer upon layer of connections to create the center leg support were built up. Two rubber belts attached to rotating pieces on each side help drop his center leg down and retract upwards. This was also the central support for the entire build. The foot was built up using more standard pieces and then attached to more liftarms with the use of pins and then slid into the center leg support. I was impressed with all three of his feet and how well they were designed to represent the original character.
Next, the body frame was built using two 11×15 beam frames. More Technic pieces and more pins until my fingers started to get sore from finagling them into place. These frames also provided the attachment points for the arms that R2 extends out to perform all of his assigned duties and heroic acts.
Take it from me, if you make it to Bag 4, give yourself a big pat on the back! Unless of course you specialize in LEGO Technic™, and if so I give you full freedom to chuckle at me.
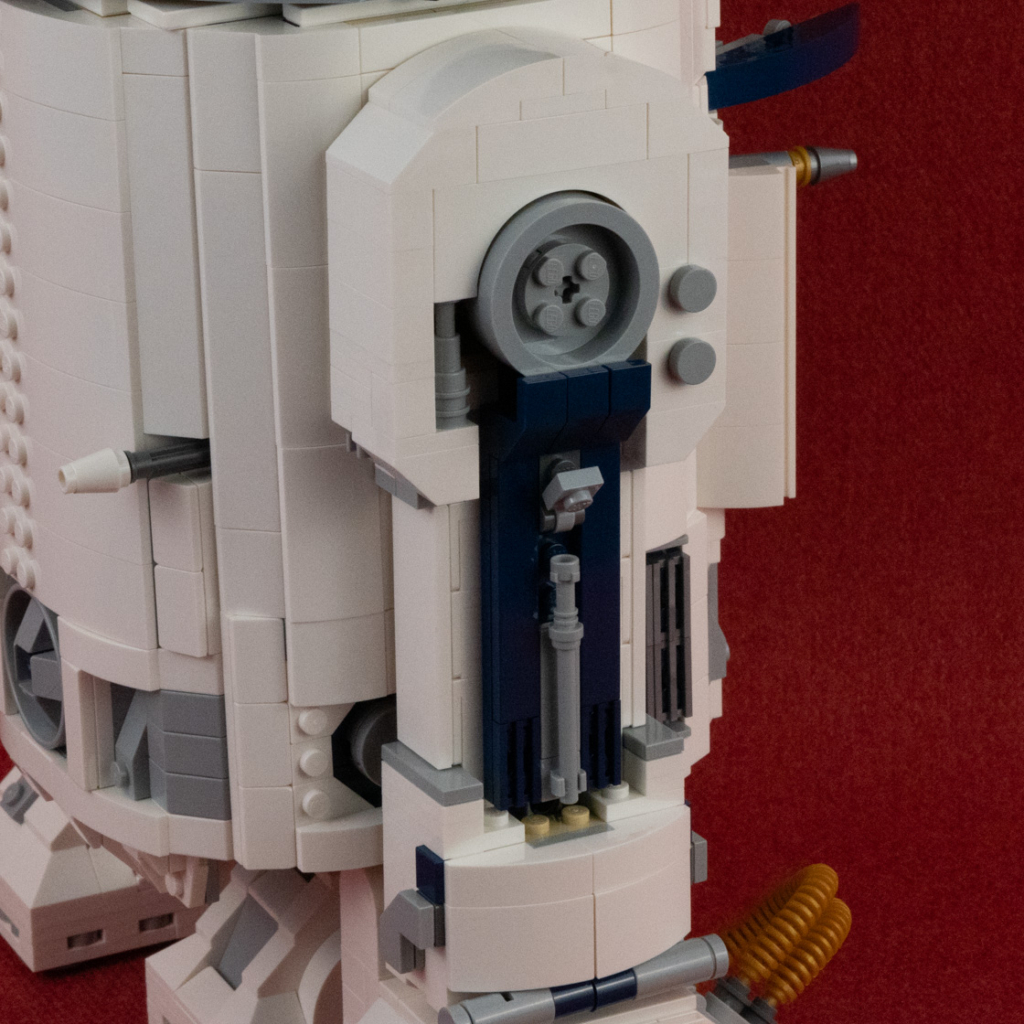
The outer covering began next, and this was something I could handle! A lovely combination of pieces were used in white, grey, and dark blue to create the body of the R2 we love so dearly. I loved all the little details added, and the use of the metallic silver grille pieces were a nice touch. The side plates were built and attached first. They had a simple design pattern which makes sense because most of the plates are covered by his side legs.
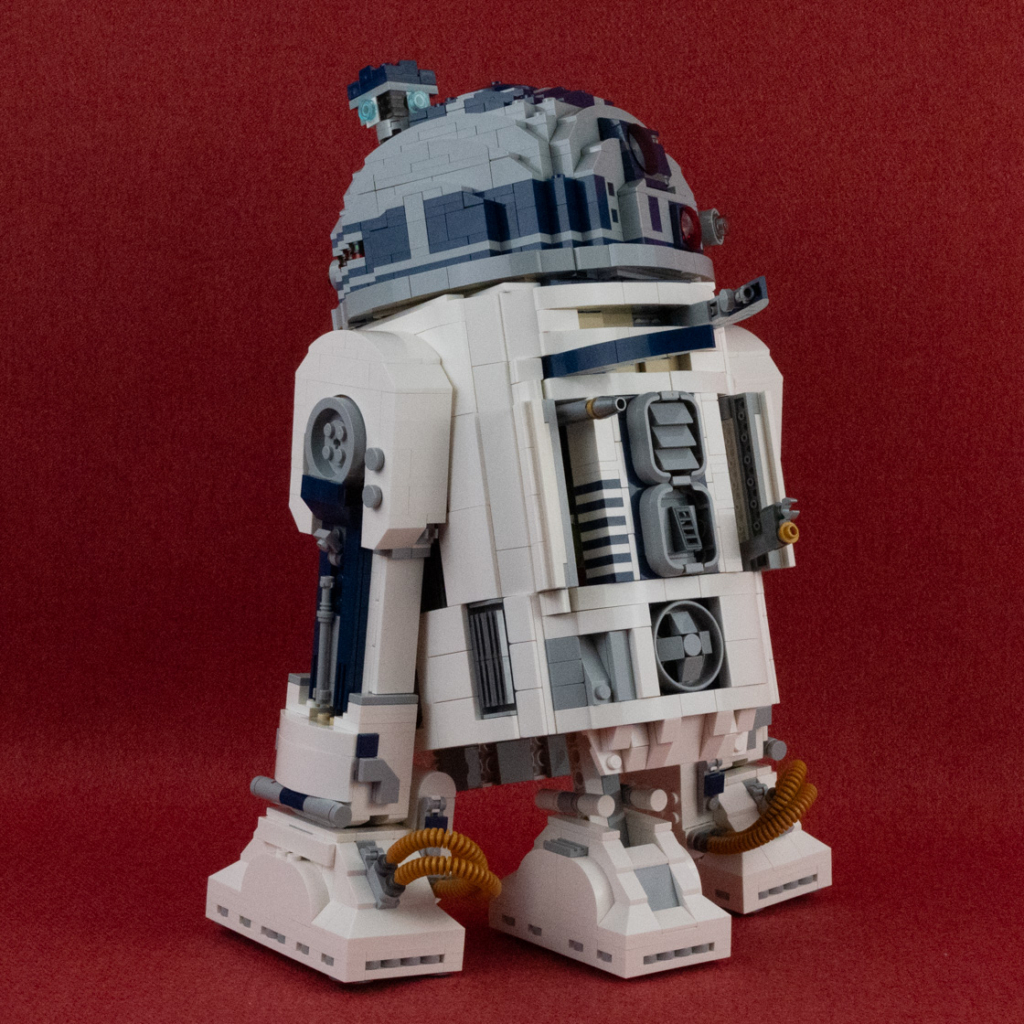
The legs were built next. It took some time and was tedious to get everything in the right position and slot, so I took my time. I slid the legs into the position, attached with pins, and desperately hoped that I put them in correctly. Onto the feet which were built in a very similar fashion to the middle foot. There were some differences with added detailing on the outside edges and a taller side built up on the inside edge. It was a special moment to attach the gold hoses since they have always been a special feature on R2 for me.
At this point all the intricate work in building the central structure support made more sense. The central leg can be pushed upwards and it snaps into a holding position. To drop his center leg down all you have to do is rotate his two side legs backwards and the center leg drops down and R2 can roll away. It works amazingly well and I have absolutely no idea how! What I do know is the LEGO designers get a big round of applause for incredible talent in engineering.
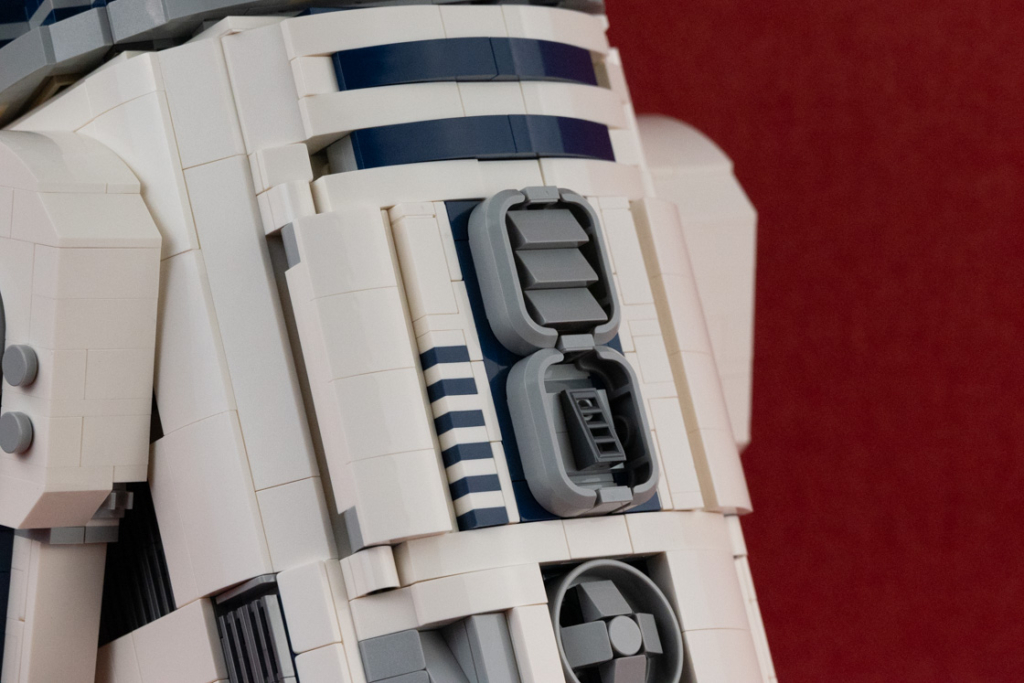
The front panel has a lot going on and I think the best visually designed part of the set. A thin blue line of smooth tiles right beneath his head appears to be the data slot. Two blue control arms rest beneath that and can either be rotated outwards, or retract to lay smoothly within the panel. The center of the panel has two ventilation grates and on either side of these little white doors hinge open to allow his computer and utility arms to pop out. These can be a bit tricky to do and I found the easiest way was to push on the base of each arm and that pops it out enough to be able to pull it all the way out. The last big feature which rests at the base of the panel is the recharge power coupling. It is very well designed and a lot of fun to build.
The back panel is very simple with primarily white plating and another power coupling at the base.
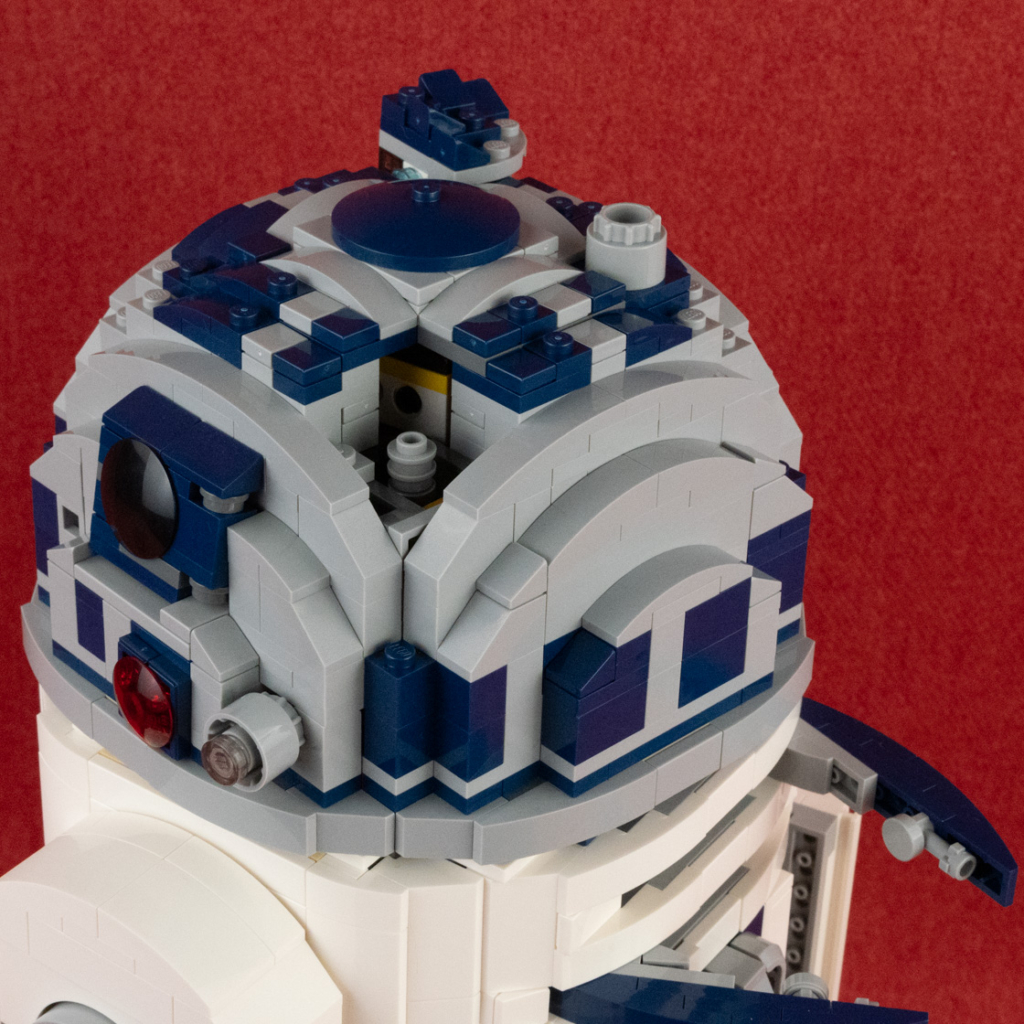
His head was a bit more complex to build than his panels. It is almost completely hollow inside which makes it light, but a little tricky at first to keep everything stable while you work. It rotates freely around in complete circles. He has two compartments built in one on the front right side and the other on the left rear side. The front compartment is a storage hold that Luke’s lightsaber hides in. The lightsaber hilt built to fit in this area is unique with a number of pieces combined to give it character. The only thing that disappointed me in this section was the detachable portion of his head coming completely off instead of sliding or hinging open. Everything else acts and responds similarly to the onscreen version and it would have been nice to have this respond as such too.
The back compartment houses his visual periscope. It is a bit wobbly when fully extended and likes to slide back in on its own, but otherwise it is super cute and perfect for our brick R2. When it drops back into place you wouldn’t even know it is there it fits so perfectly into the top of the head.
The front of his head has three of his best features built in; the primary radar eye, processor state indicator, and holographic projector. With these three parts who this droid is is clear to anyone at a glance. He also has two additional holographic projectors on the top rear portion of his head, and another on the back. Sitting beside the projector on the backside there is another processor indicator.
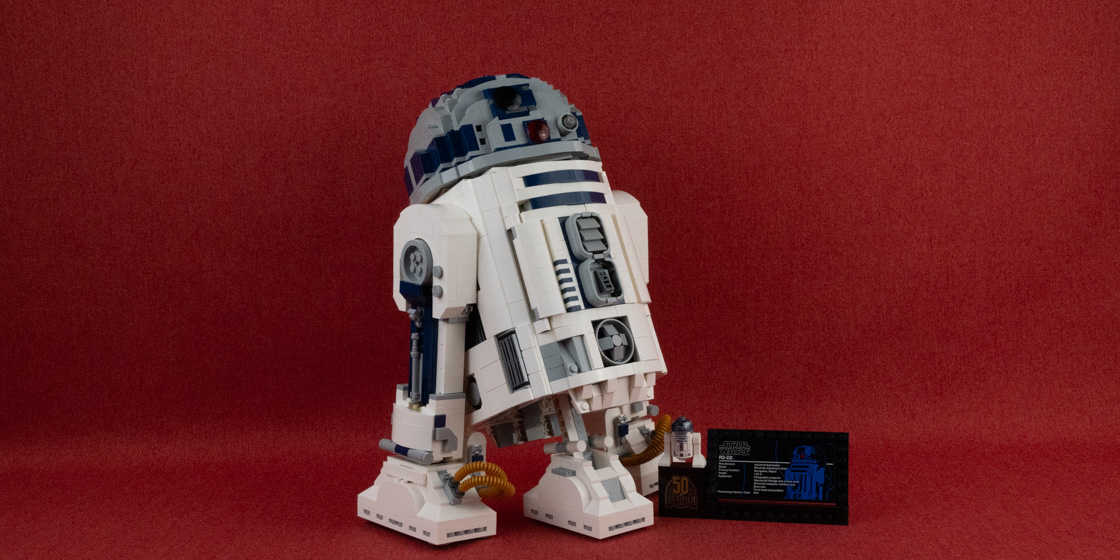
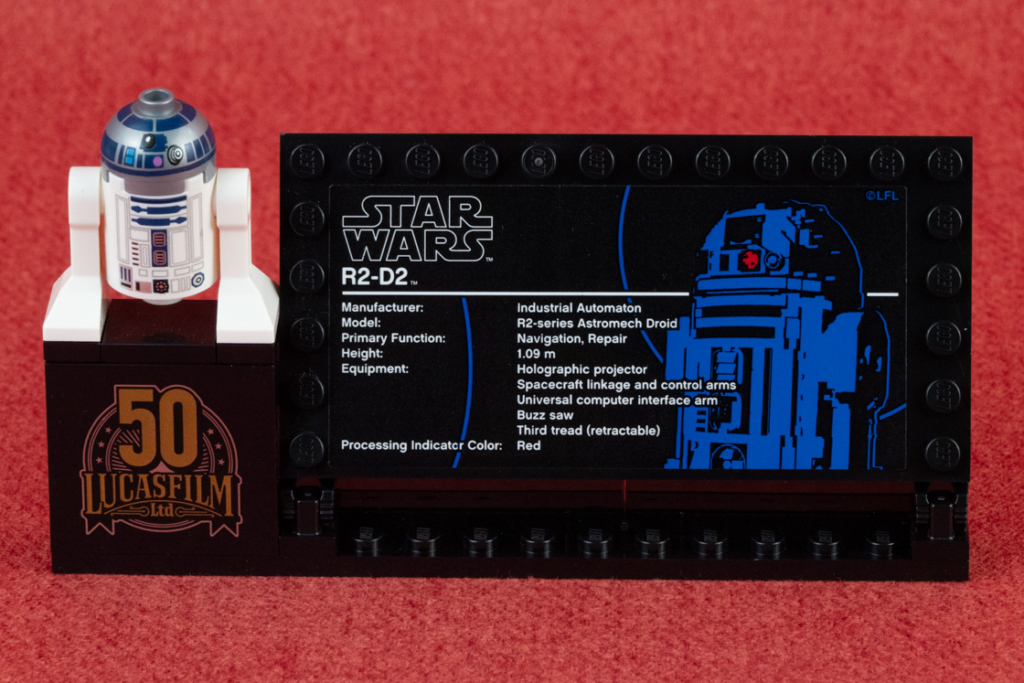
A display sign quickly builds up and includes a large sticker that tells us all about R2-D2. Beside this another printed sign honors the 50 anniversary of Lucas Film and atop this rest a mini version of R2.
I think his overall size is perfect for displaying. He measures about 12.5 inches high and 8 inches wide when standing straight up. Picking him up is a costly investment, but he is well worth it. Don’t wait too long to pick him up before he retires!
